Help
-
Getting Started
-
Single Player
-
Multiplayer
-
Settings
-
Tips and Strategy
The Ball Machine
Introduction
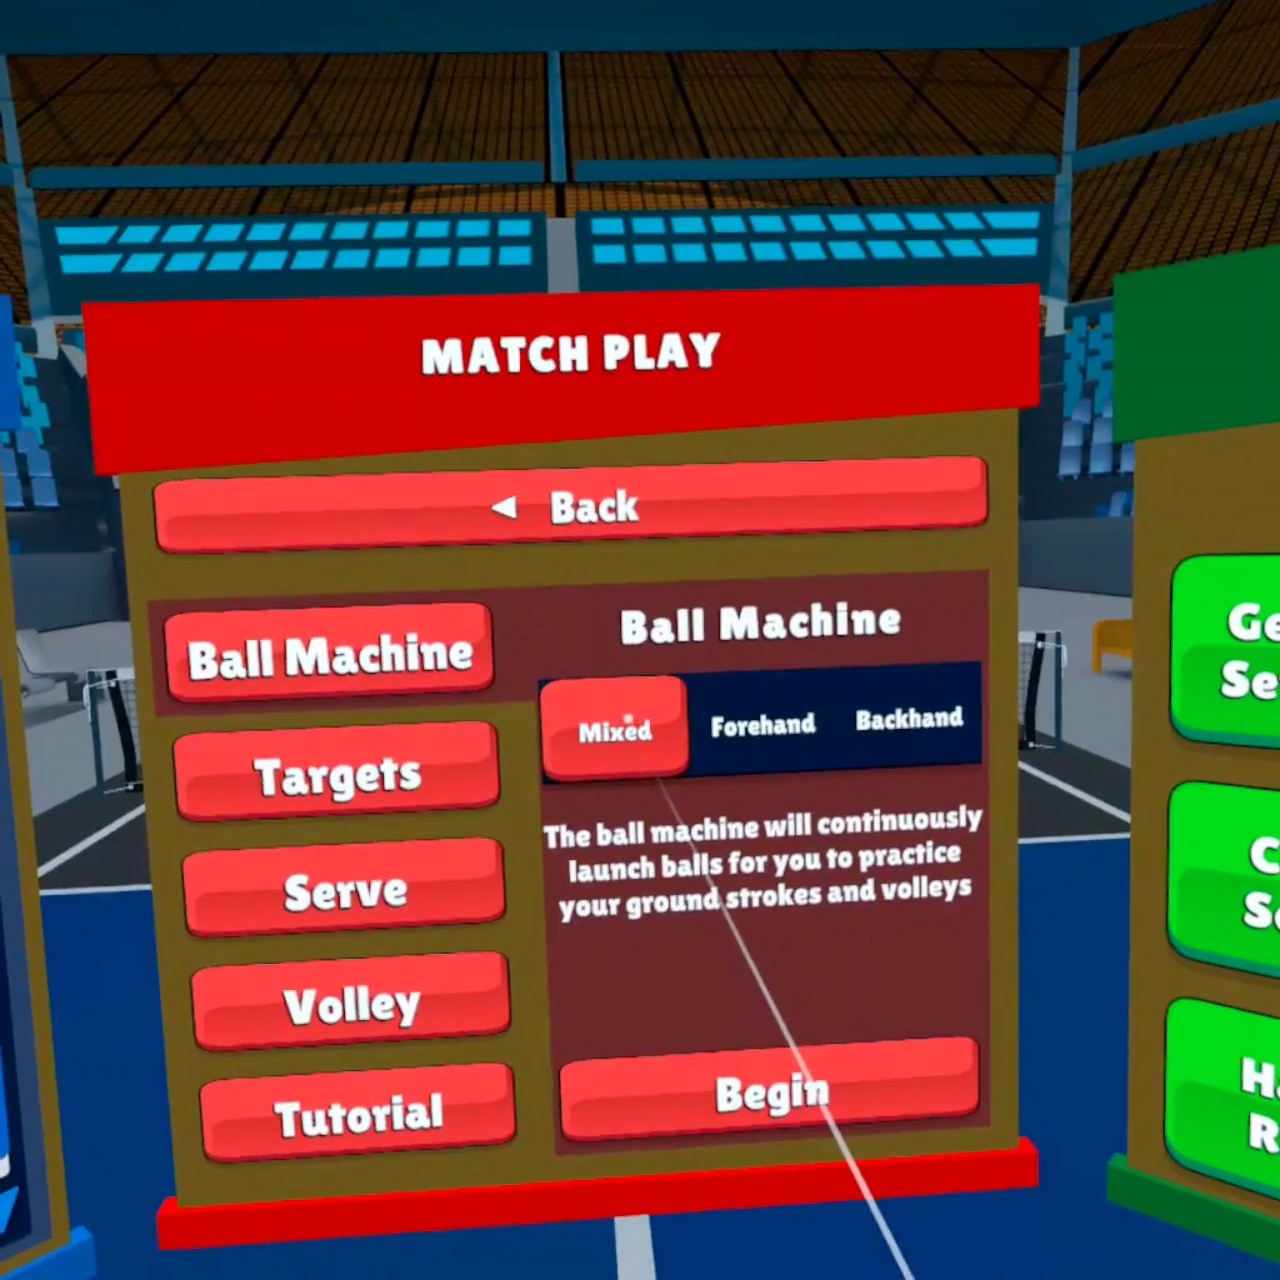
The Ball Machine will continuously launch balls for you to practice returning ground strokes and volleys.

Playing Pickleball offers practice modes that allow you to work on your game. One of the popular tools available is called The Ball Machine. When you begin, the Ball Machine will continuously launch balls for you to practice returning ground strokes and volleys. You may configure the ball machine to focus on forehand shots, backhand shots, or a random mixture of both.
Let's begin.
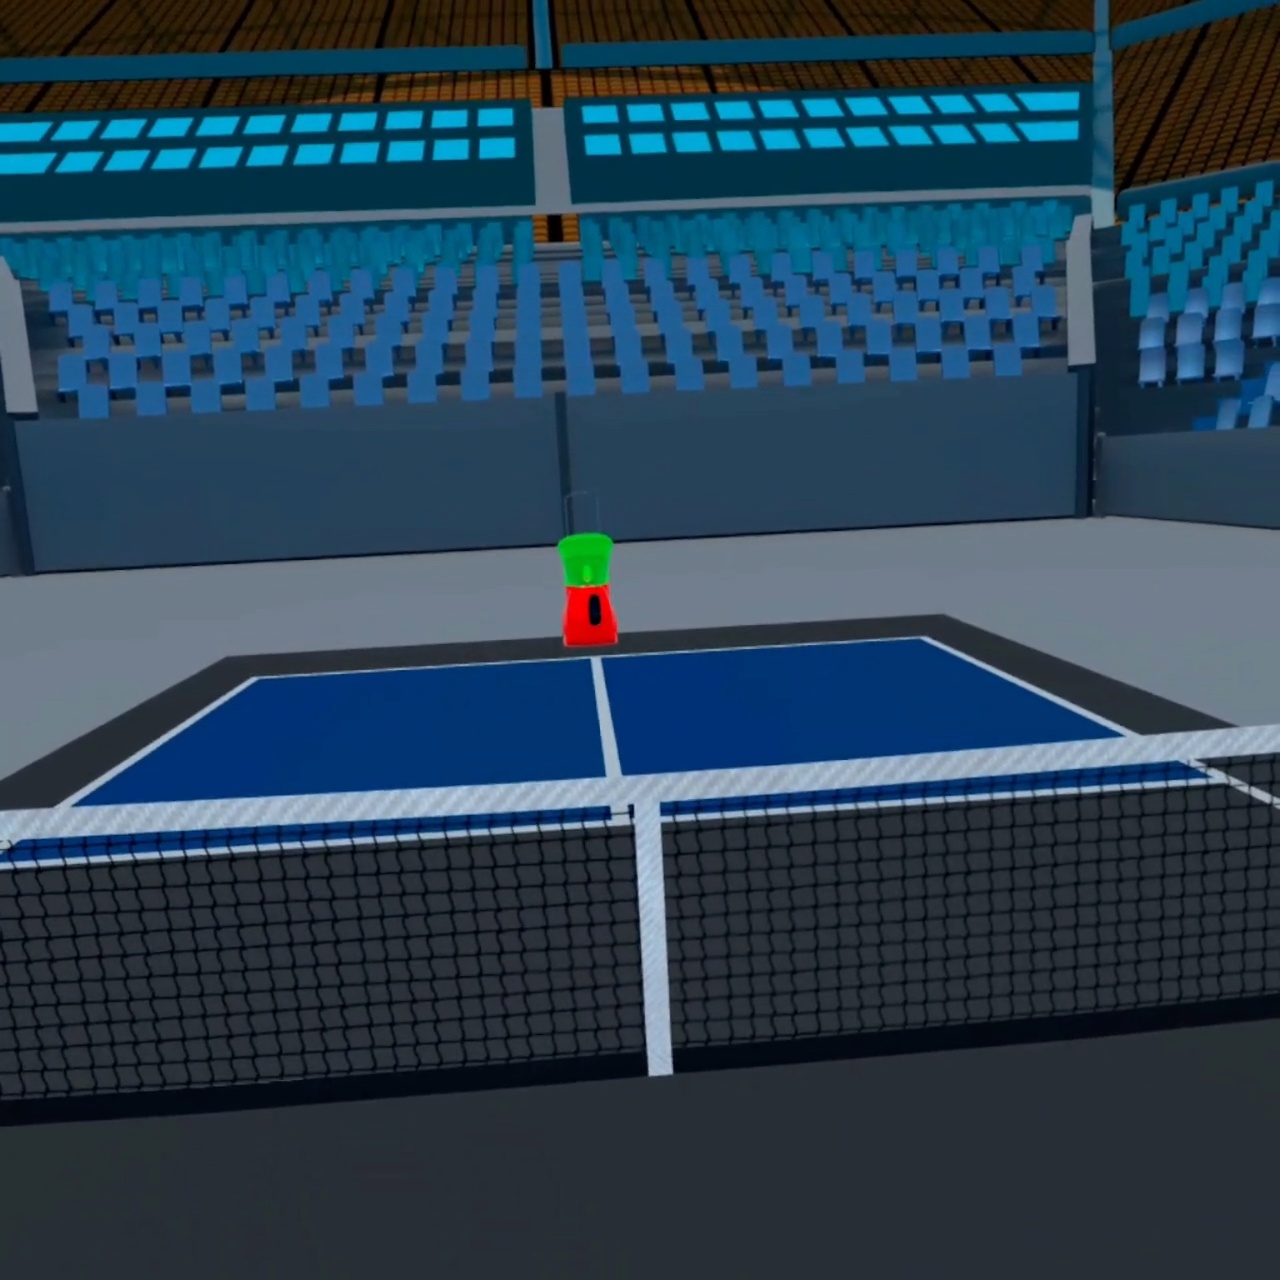
Upon starting, the Ball Machine will immediately begin launching balls for you to return.
To your left, you will see a status window that will display whether the last ball you returned was considered In or Out.
Adjust Ball Machine settings
To adjust the ball machine configuration, you do so by pressing the left hand menu button on your Meta Quest controller.

To adjust the ball machine configuration, you do so by pressing the left hand menu button on your Meta Quest controller.
A pause menu will appear, and you may change settings for your practice session.
You may adjust your movement settings, whether you wish to work on your forehand, backhand, or a random mixture of both.
You may also configure your physics difficulty settings, with Easy being more forgiving of your swing physics, and Pro being the most close to real life Pickleball physics.
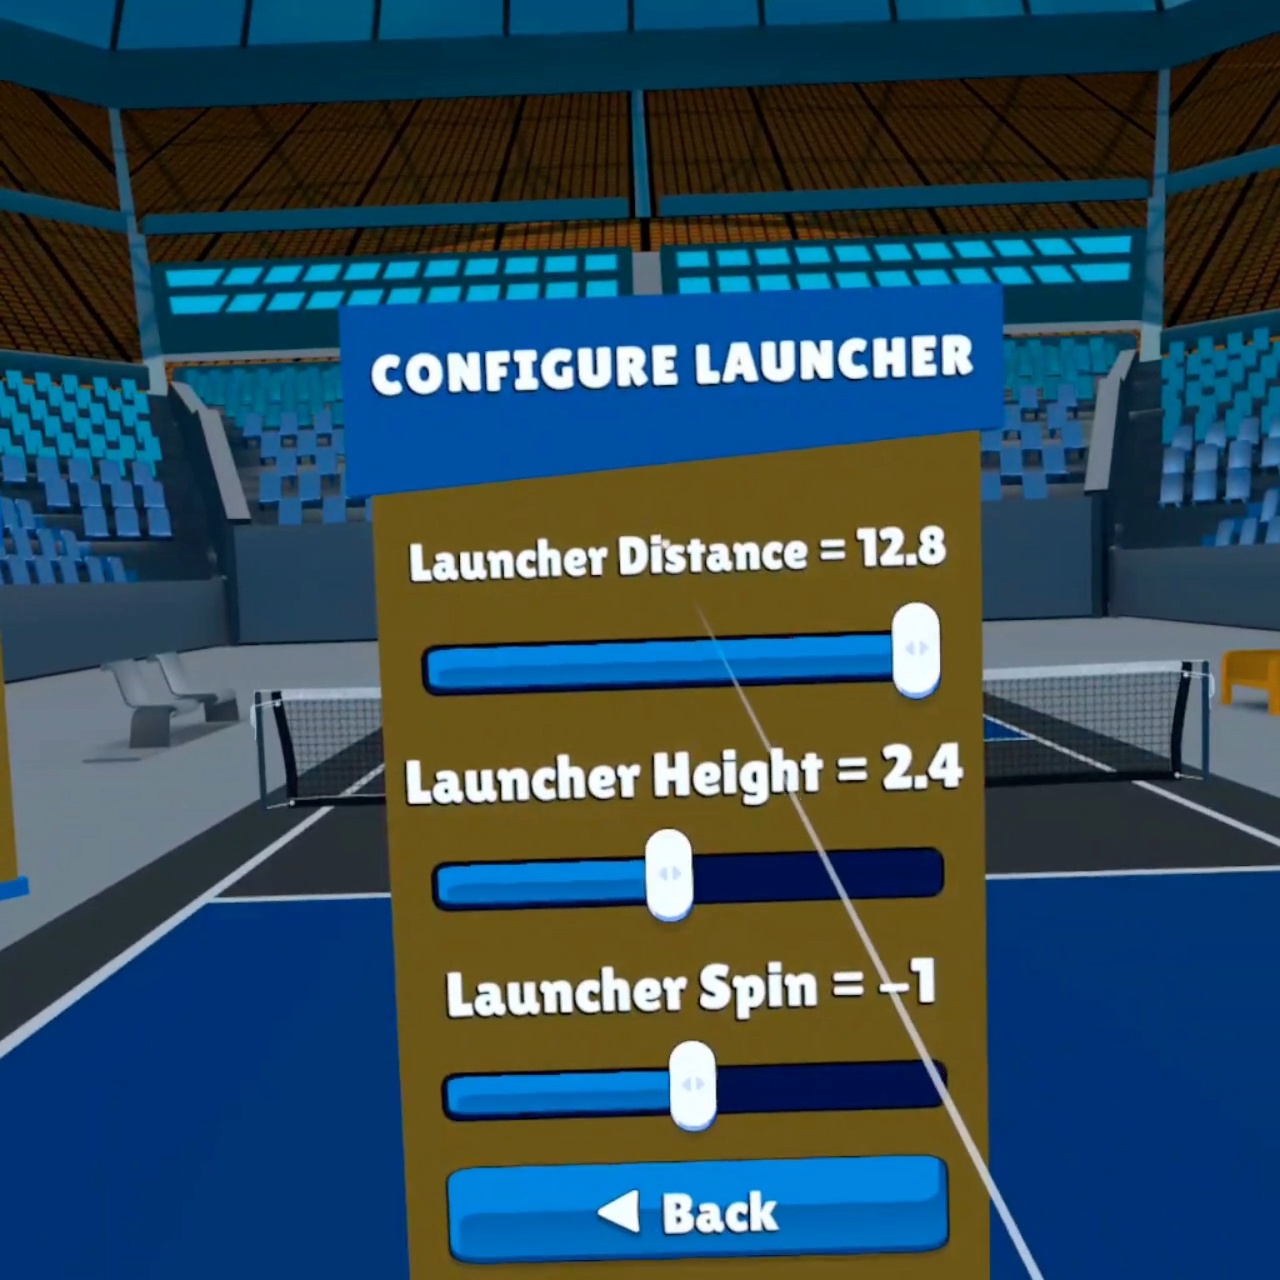
Press the Configure Launcher button to adjust the settings for the ball machine. The Configure Launcher menu allows you to change parameters such as ball distance, ball height and ball spin.
To make the ball fire further or shorter, adjust Launcher Distance slider.
To make the ball fire higher or lower, adjust the Launcher Height slider.
To make the ball have more or less spin, adjust the Spin slider to a negative number for more backspin, or a positive number for more top spin. Place the slider at zero for no spin at all.
After making an adjustment, the new settings will be reflected on the next ball that is launched.
Move to the net
To move towards or away from the net, or Kitchen line, press down and click the left hand joystick on your Meta Quest controller.

To move towards or away from the net, or Kitchen line, press down and click the left hand joystick on your Meta Quest controller.
If you'd like to have the ball soar past you while at the net, open the Configure Launcher menu again and adjust the Launcher Distance Distance slider to a higher value and reduce the Launcher Height slider to a lower value.
Click back and then click Continue to see the results.
View interactive results
When you’re finished practicing, press the left hand menu button on your Meta Quest controller, and select Quit.
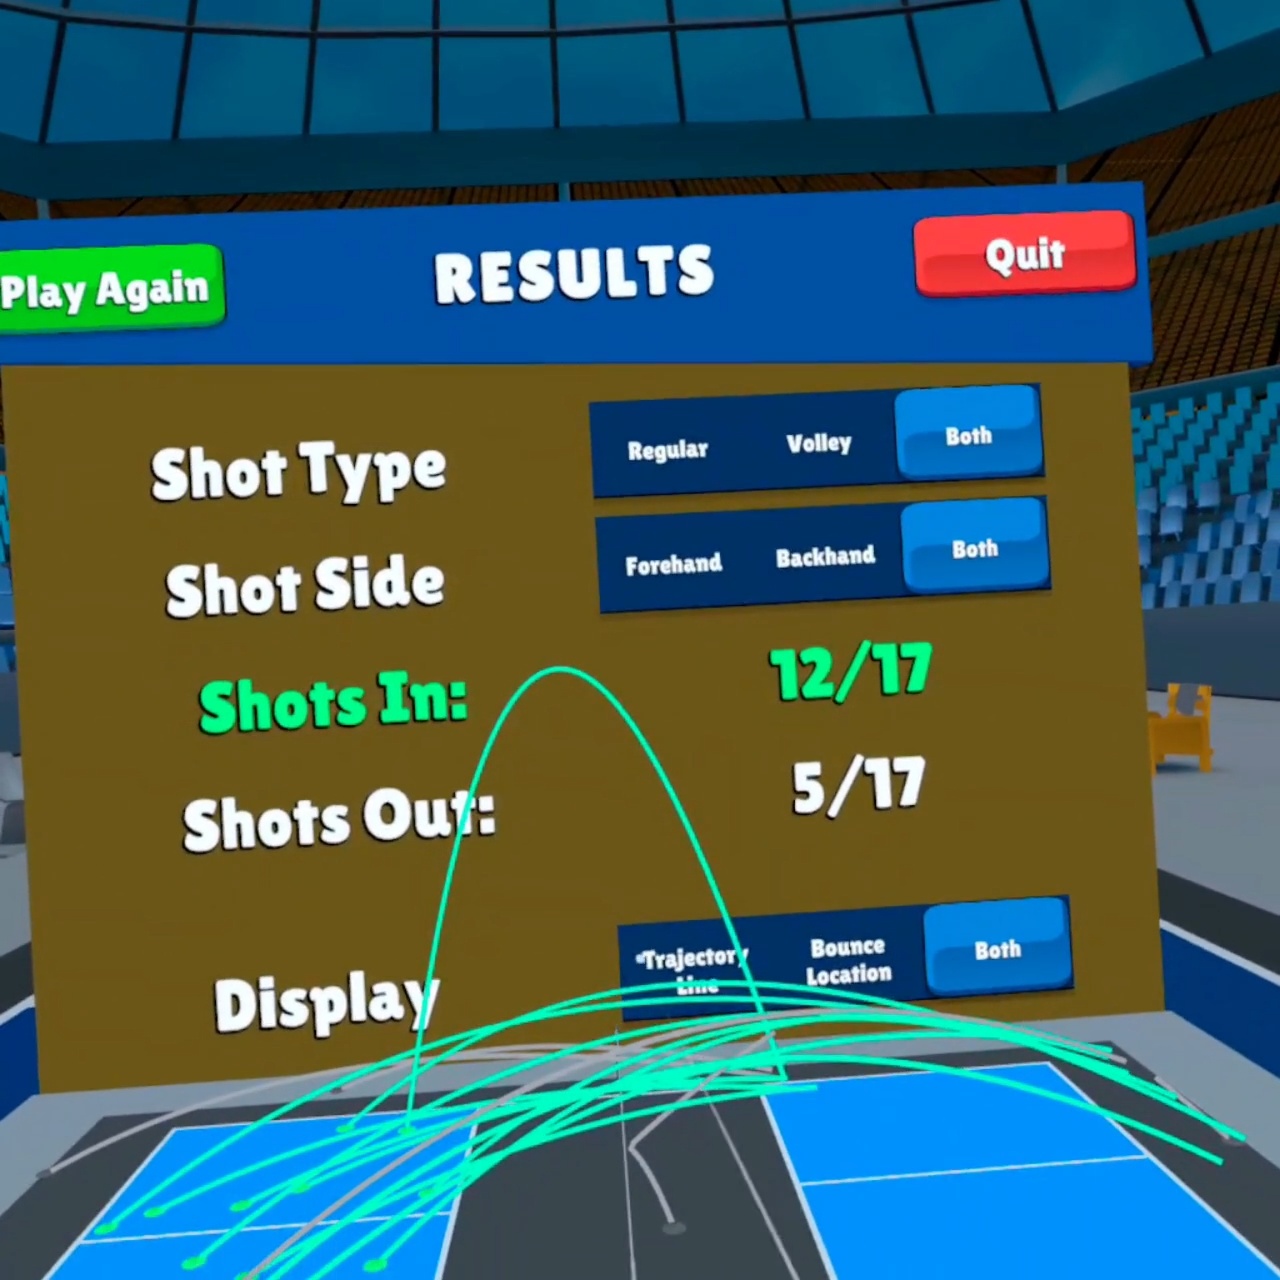
You will then be presented with an interactive visualization of all of the shots you have made during your practice session.

When you're finished practicing, press the left hand menu button on your Meta Quest controller, and select Quit.
You will now be presented with an interactive visualization of all of the shots you have made during your practice session.
The green lines indicate the ball trajectory of successful returns that cleared the net and landed in-bounds. The gray lines indicate the trajectory of unsuccessful returns.
You may filter the results in the visualization to identify patterns in your performance.
Use the Shot Type buttons to filter ground strokes, volleys, or both.
Use the Shot Side buttons to filter forehands, backhands, or both.
Use the Display buttons to filter the results in the visualization to show just the Trajectory Line, or Bounce Location, or both.
Once you're finished reviewing your results, select Quit.
Get more help

Join Our Community
Get immediate access to our active community of players.

EMAIL SUPPORT
Get in touch with our support team to ask questions or discuss issues.